Make Automation: How To Setup Make.com With Maileroo
Follow this guide to connect your Maileroo account with the Make automation platform and start sending fully automated, API-based emails.
Step 1: Create Your Maileroo Account, Add Your Domain & Obtain Your Sending Key
1. Create a Maileroo Account
If you haven’t already, sign up at:
app.maileroo.com/register
After logging in, go to Email API from the services menu at app.maileroo.com.
2. Add Your Domain
- Navigate to Domains.
- Click Add Domain (top-right).
- Enter your domain name.
- If it’s a brand-new domain, you will be taken to the DNS configuration page.
- If the domain already exists in your account, simply click the domain from the list to open its sending environment.
3. Generate Your Sending Key
Follow these steps to generate the API key Make will use to send emails:
- Open Maileroo → Domains
- Click on the domain you want to send from
- Go to Overview
- Navigate to Sending Keys
- Click New Sending Key
- Give it a name and generate it
Once created, copy your Sending Key — you’ll need it shortly.

Step 2: Integrate Maileroo with Make
1. Log into Make
Visit make.com and log in or create an account if you’re new.
2. Create a Scenario
- In the left sidebar, click Scenarios
- Click Create Scenario
- This opens the Scenario Builder—Make’s no-code automation environment.
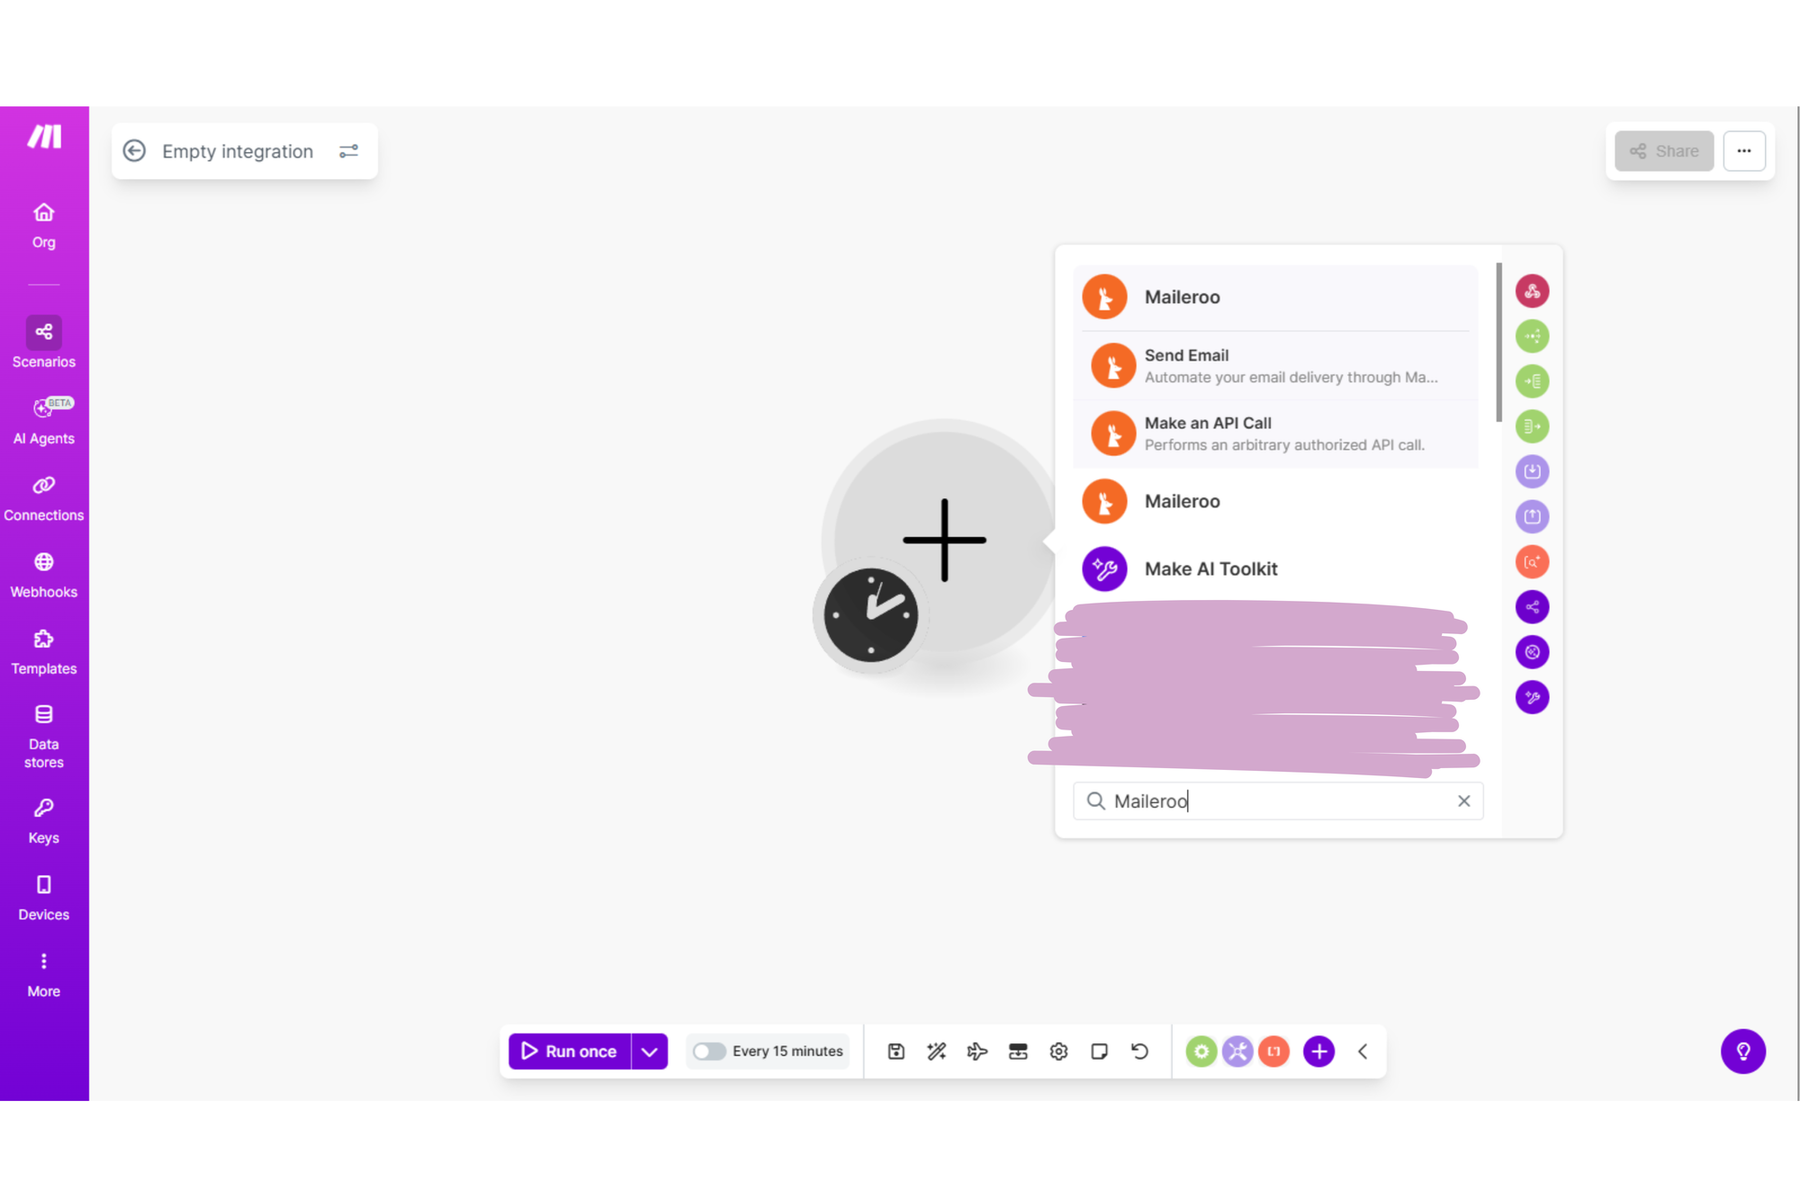
3. Add Maileroo to Your Scenario
- In the builder, click the large + button
- When prompted to add an app, search "Maileroo"
- Select it to insert the Maileroo module into your workflow
- For this guide, choose Send Email—the primary module for sending emails via Maileroo
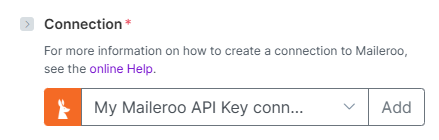
4. Connect Your Maileroo Account
When the Send Email module loads, you’ll see an option to Connect.
- Click Connect
- Paste your Sending API Key
- Make will validate the key
- Once validated, the module unlocks and you can continue configuring the email
Step 3: Configure the Send Email Module
The Send Email module includes the following fields:
| Field | Required | Notes |
|---|---|---|
| From Email Address | ✔︎ | Must be a verified domain tied to your API key |
| From Name | Optional | Sender display name |
| Recipient Email Address | ✔︎ | Email of the recipient |
| Recipient Name | Optional | Display name for the recipient |
| Email Subject | ✔︎ | Subject line of your email |
| HTML Content | ✔︎* | Provide HTML content, plain text, or both |
| Plain Text Content | ✔︎* | Provide plain text, HTML, or both |
| Enable Tracking | Optional | Toggles opens/clicks tracking |
* At least one of HTML or Plain Text is required.
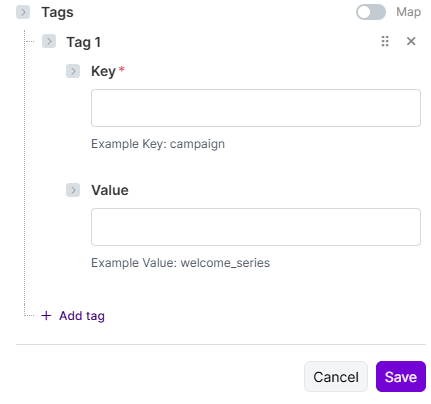
Adding Custom Tags (Optional)
At the bottom of the module you’ll find the Tags section.
Click + to create custom key/value pairs that will be inserted into your email headers.
These are useful for categorization, analytics, or advanced workflows.
Step 4: Send Your First Email
Once all required fields are completed:
- Save your module
- Add any additional steps if needed
- Run your scenario
Your email will be delivered using your Maileroo account.
Important Notes & Troubleshooting
1. Sender Email Must Match the Domain
If the From Email Address uses a domain that is not associated with your API key or not added/verified in Maileroo, the system will return an error.
2. Email Logs Are Stored in Maileroo
Every email sent through Make → Maileroo will appear in your Maileroo Email Logs for review and troubleshooting.