How to Send Emails Using Laravel
In this comprehensive guide, learn how to send emails using Laravel. We delve into configuring email settings, creating mailable classes, and integrating SMTP or Maileroo API for streamlined email delivery.

Sending emails doesn’t have to be complicated, whether you’re doing it in bulk or sending out a single message. Laravel integrates with a wide range of email-sending service providers to give a robust solution for email management systems that meet your business goals.
Powered with Symfony Mailer, the popular PHP framework provides drivers for sending emails via SMTP, third-party email-sending services like Maileroo, and the Sendmail MTA.
While Laravel is largely known for its simplicity and availability of so much information online, confusion tends to arise regarding how to set it up and send emails using the application.
In this article, we aim to clear the confusion to help you save time when integrating Laravel with your local or cloud-based email service solution.
Whether it’s a question on how to test, set up, or send an email using Laravel, the answer is here. So Keep reading.
What to Do Before Sending Emails in Laravel
Sending email using Laravel isn’t difficult, but you must get the basics right before getting started.
Configuration
The configuration of Laravel’s email functionality is done in the config/mail.php file. This configuration file contains a unique configuration array for each email driver/transport supported by Laravel. With that, you can use different email services to send out your emails.
Within the mail configuration file in your Laravel application, there’s a mailers configuration array with a sample configuration entry for each major mail driver that’s supported by Laravel. On the other hand, the default configuration array determines the default mailer your Laravel application will use when sending emails.
How to Generate and Write Mailables
Each mailable class represents different types of emails in Laravel, and it’s stored in the app/Mail directory. This directory only generates when you create the first mailable class in the application.
Use the following command of the Artisan CLI in Laravel to create a mailable class:
php artisan make:mail MailableName
As soon as you create this, you’ll see the content of the mailable class. Use the following methods to configure the newly created class:
- Envelope - This returns the mailables/illuminate/envelope object/mail, defining the subject and recipients.
- Content - This returns mailables/illuminate/envelope object/mail, defining the Blade template that generates message content.
- Attachments - Gives back an array of attachments.
Sender Configuration
You can use a global “from” address or the message Envelope object to specify the sender of the email. That means the “from” name and email address.
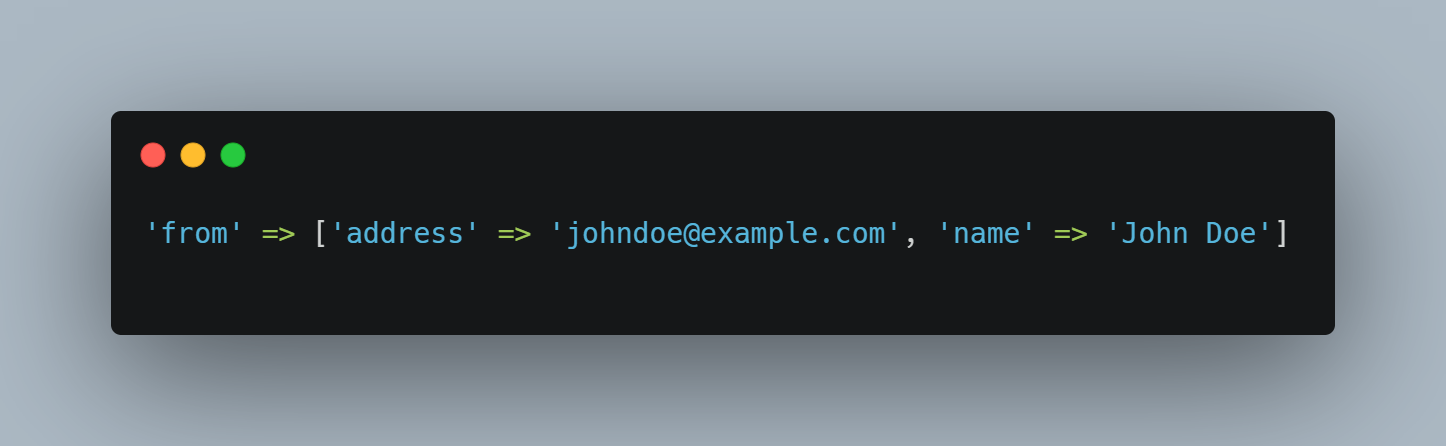
Use the code below to specify the sender in the Envelope Object.

Here’s how to specify the sender in config/mail.php with the global “from” address:
Only use the global “from” address if you’re using the same “from” address for all the emails sent by your Laravel application. In this case, it serves as the default “from” address if there’s no other specified, and you don’t have to call the from method in each of your mailable classes.
Step-By-Step Guide: How To Send Emails In Laravel
The most common ways of sending emails in Laravel is through SMTP and email API as mentioned earlier. We’ll cover each of these in detail to make your setup easy and stress-free.
Sending Emails in Laravel Using SMTP
To send emails using SMTP, first, insert your SMTP mail server credentials into the .env file of your application.
In this article, we’ll use the credentials provided by Maileroo’s sending service, as it’s one of the most reliable solutions with a high deliverability rate.
First, create a Maileroo account and log in to get the credentials. Then, in your Maileroo Dashboard, go to Domains in the left sidebar and click on the Connect New Domain button to add and verify your domain.
As soon as you verify your domain, you’ll be taken to the API and SMTP pages. Since it’s a new domain, there are no SMTP accounts linked to it, and you need to create one. To do this, on the API and SMTP page, click on the “Create an SMTP account” button.
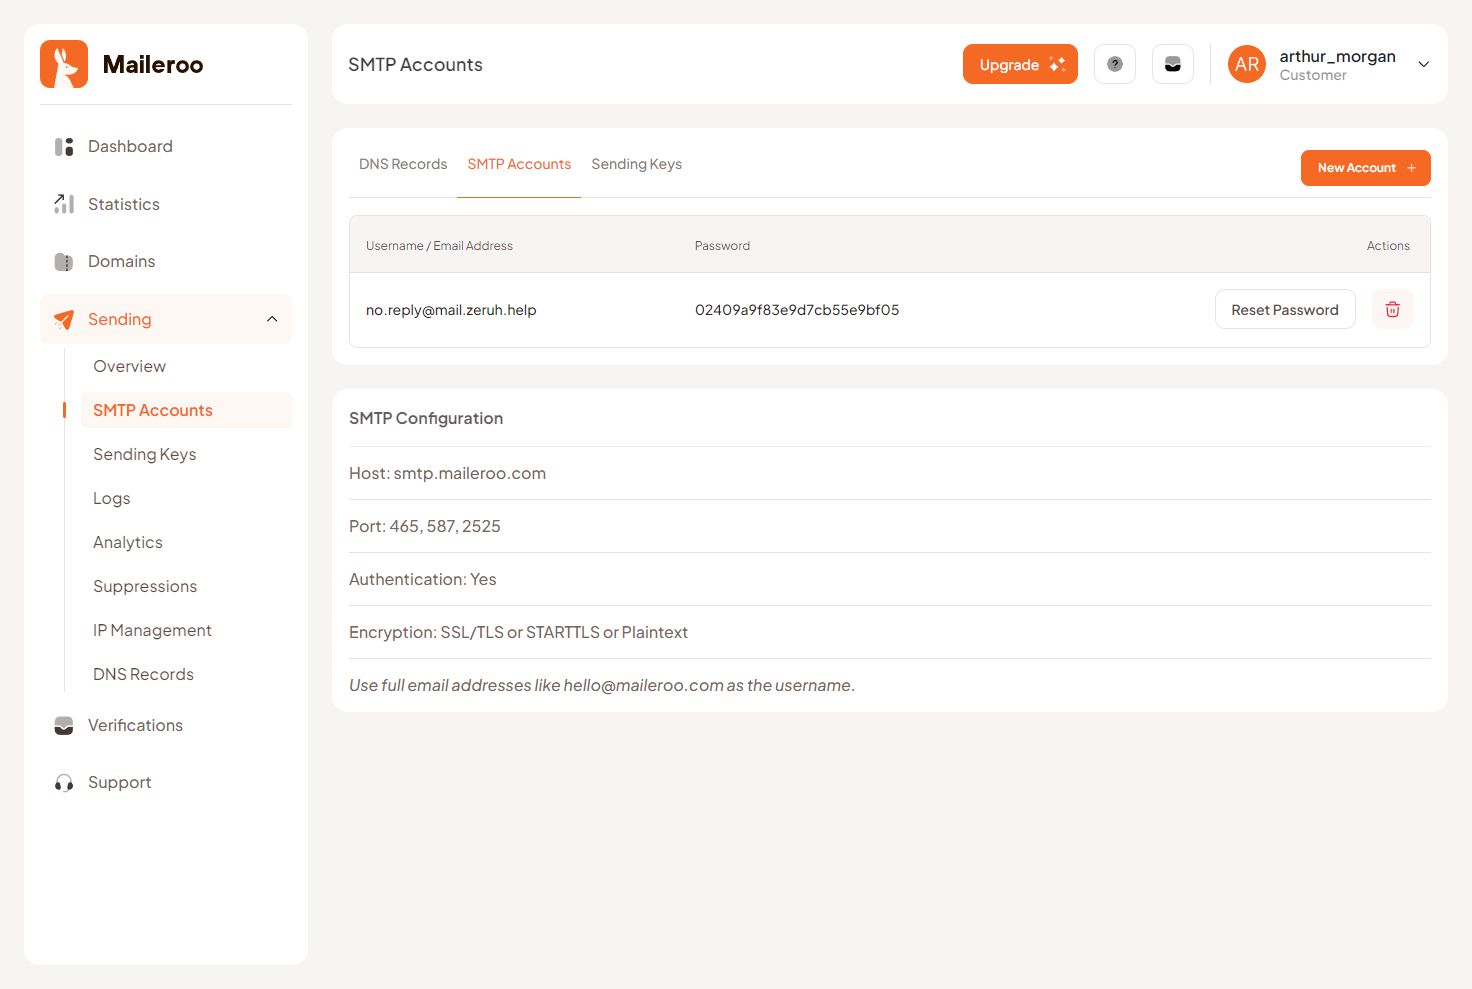
Now that you have created a new SMTP account with Maileroo, you’ll find your SMTP details under SMTP accounts. You can copy and paste these details into your Laravel application.
Example:
The image below shows SMTP details in Maileroo for the domain mail.zeruh.help.
If you don’t have an existing Laravel application yet, here’s how to create one:
Run the composer create-project laravel/maileroo_email_in_laravel or the laravel new maileroo_email_in_laravel command in the terminal to create a new project. Note that the “maileroo_email_in_laravel” is specifically for Maileroo and should be replaced with your application if you’re using a different email-sending solution.

Once you do this, use the cd maileroo_email_in_laravel command to switch the directory to maileroo_email_in_laravel. Note that this should match your actual directory name, as it’s needed to run the Laravel command for the creation of mailable classes.

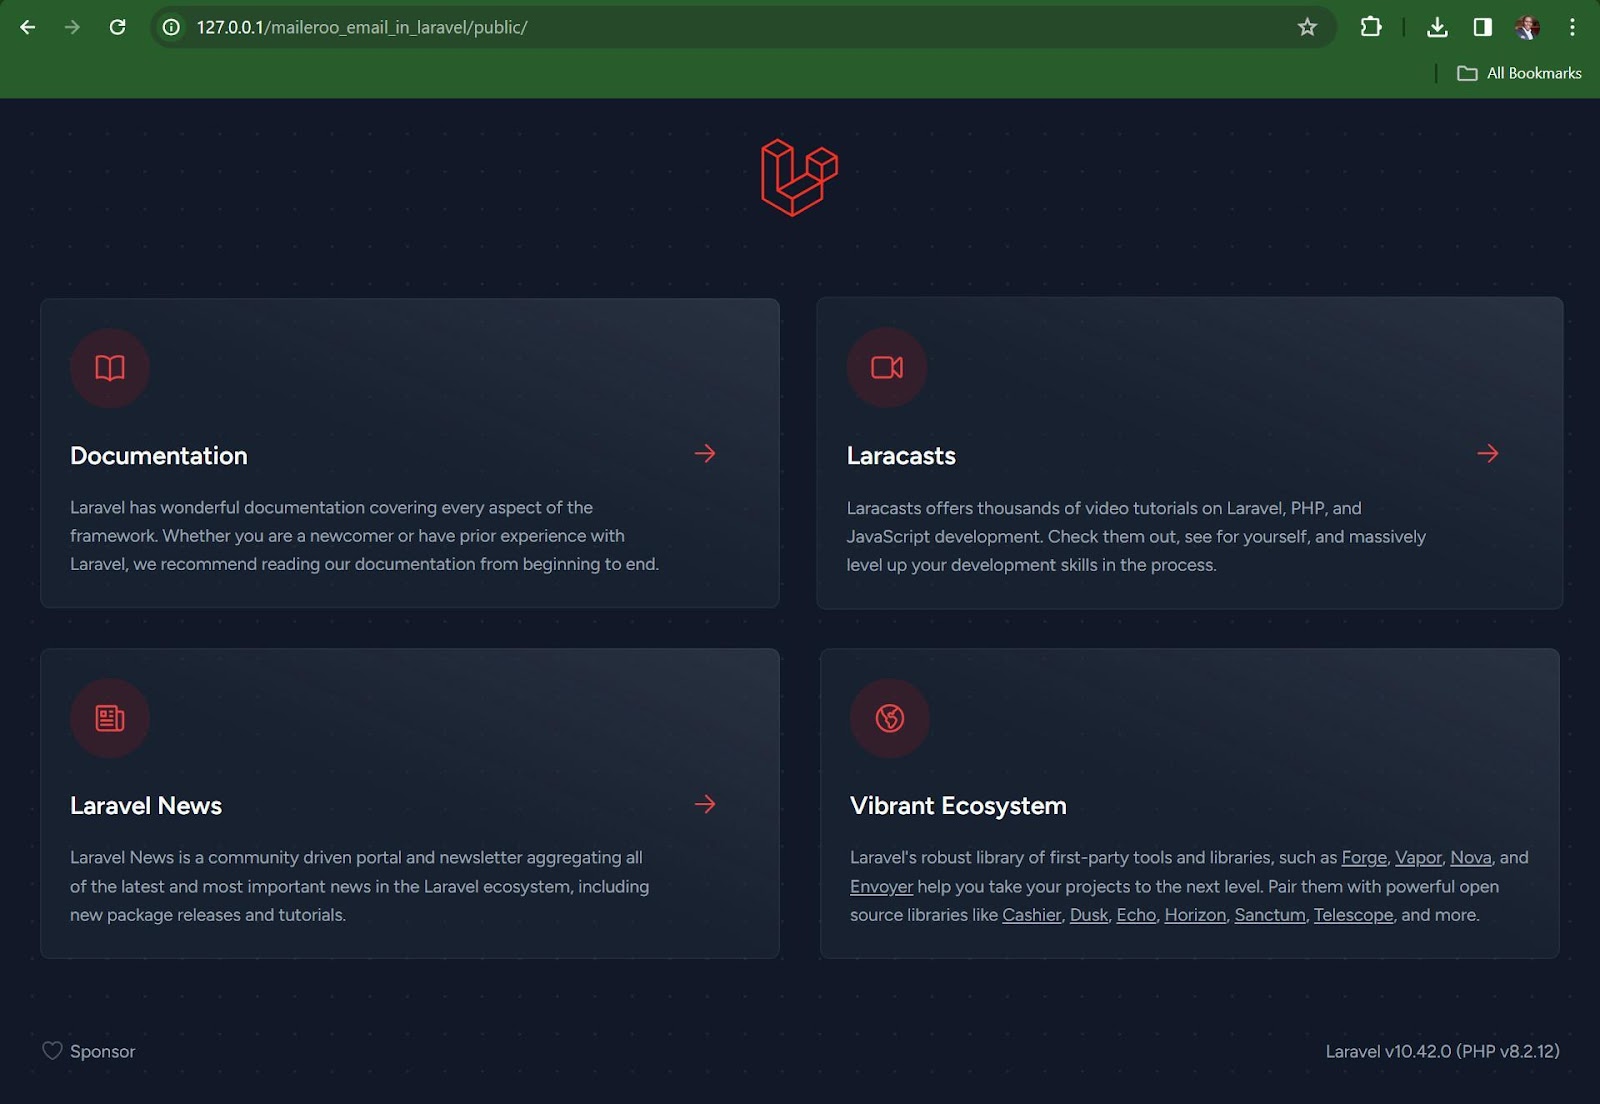
Lastly, to view your Laravel application in a browser, run the command php artisan serve.
Now that you’ve created your Laravel application and it’s up and running let’s get back to business - inserting the credentials for Maileroo SMTP mail server.
Here’s what the credentials look like when integrated into a Laravel code:

Your Laravel app/project code now contains your credentials. As soon as you run this code, Maileroo will allow you to verify your SMTP setup and send your first test email from the application.
With that, you’ve set up Maileroo as the SMTP server in your Laravel application, and now you can start sending your emails. Remember, these steps also apply to any other email-sending service you might want to use if not Maileroo.
Sending Emails in Laravel Using Maileroo Email API
It’s completely fine to send emails in Laravel using SMTP. However, other developers prefer using email API to SMTP since it automates the email-sending process. It all depends on your needs.
In addition to SMTP, email-sending solutions like Maileroo also offer email API for those who prefer to take this direction. For most of these email services, an API key will be provided to help you integrate Laravel with your email server.
Let’s see how to integrate Maileroo email API with Laravel in the following steps:
Step 1: Sign in to your Maileroo account and create an API key. Go to the Sending Keys section in the dashboard to generate one. You’ll use this key to authenticate your requests whenever you’re sending emails via Maileroo API.
Step 2: Install the Laravel HTTP Client using this command: composer require guzzlehttp/guzzle. Next, create a new project to generate a file for interacting with the Maileroo API by running this command in your terminal: php artisan make:service MailerooEmailService.
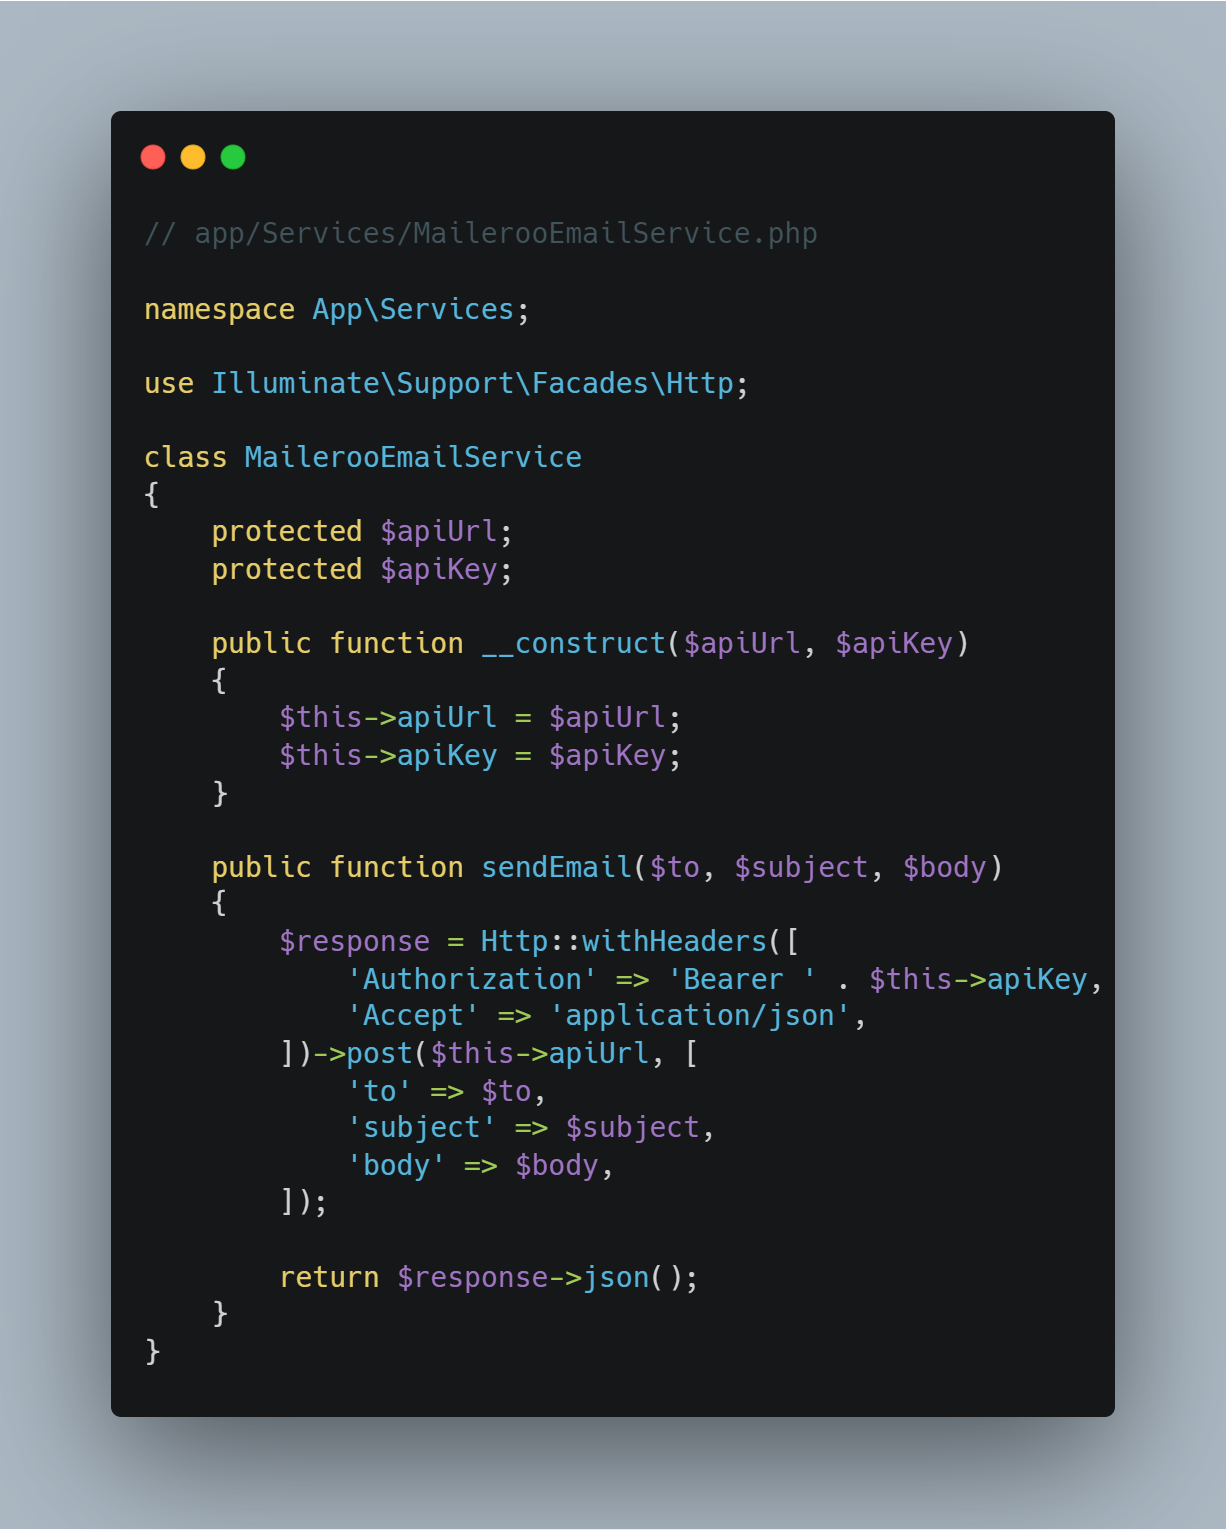
Step 3: Now open the generated ‘MailerooEmailService.php’ file and add the logic for sending emails as follows:
Step 4: Add your Maileroo credentials to the .env in your Laravel application to configure your API credentials.

Replace your-maileroo-api-key with the API key you obtained from Maileroo. With that, you’ll have configured your Laravel app to use the Maileroo API for sending emails.
Step 5: Create a mailable class in Laravel to send emails. You can do this by running the following command in your terminal: php artisan make:mail WelcomeMail.
Executing this command generates a new mailable class named app/Mail directory.
Open the newly created app/Mail/WelcomeMail.php class and configure it as follows:

Step 4: Now, it’s time to create an email template for the welcome email. To do this, create a new Blade file called welcome.blade.php in the resources/views/mail directory and add the HTML for the welcome email in it.
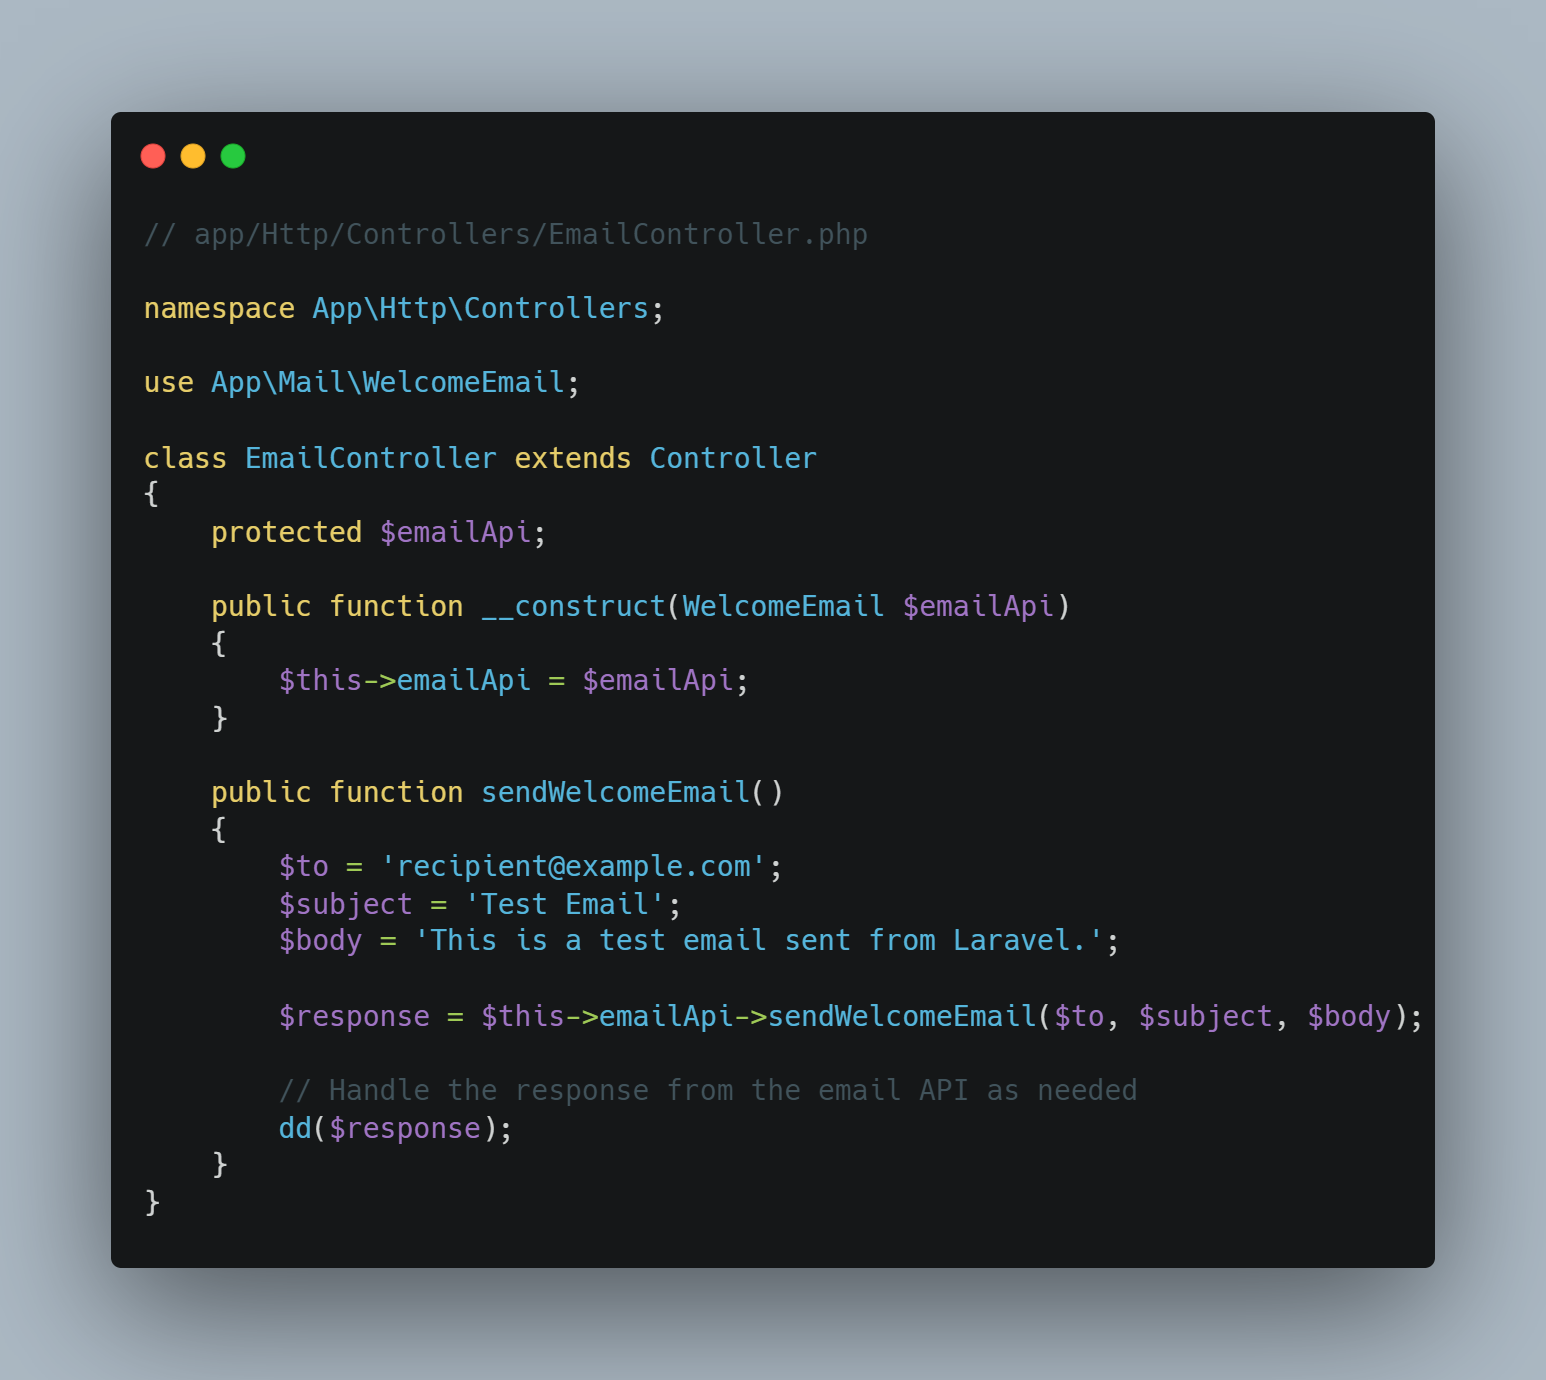
Step 5: Create a controller to use Maileroo API using this command: php artisan make:controller EmailController. Now open the file and add the following code:
That’s it! You’ve successfully integrated Maileroo with your Laravel application. You can now send emails using the Maileroo API.
Wrapping Up
In this article, we’ve covered how to use Laravel to send emails, specifically focusing on integrating the application with email-sending applications like Maileroo. There’s a lot more about what the PHP Laravel can do. You can learn more from the official Laravel documentation. However, if you’re out to know more about sending emails using Laravel, keep an eye on our blog.