How Do I Add Contacts?
Creating a contact list in Maileroo is a straightforward process that allows you to manage your audience effectively. Follow the steps below to create and populate your contact list.
Step 1: Access Your Organization
- Login to Your Account: Begin by logging into your Maileroo account.
- Navigate to Your Organization: Once logged in, locate the drop-down menu in the navigation bar.
- Select 'Organization': Click on the 'Organization' option. From the drop-down menu, select 'Contacts' to access the contact management system.
Step 2: Create a New Contact List
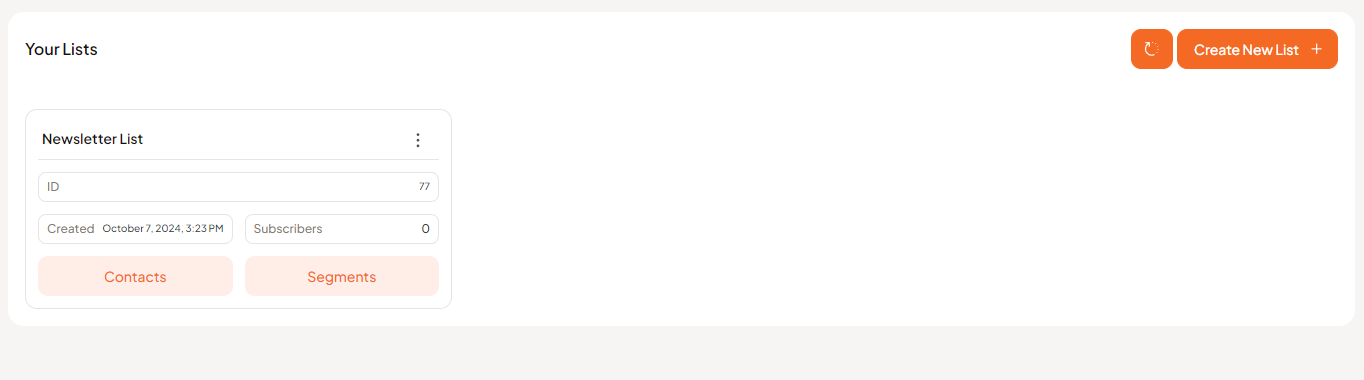
- Create New List: On the contact management overview page, look for the 'Create New List' button located in the top right corner of your screen.
- Name Your List: A modal will pop up, prompting you to enter a unique and meaningful name for your list. This will help you easily navigate and connect it to your campaigns and forms later.
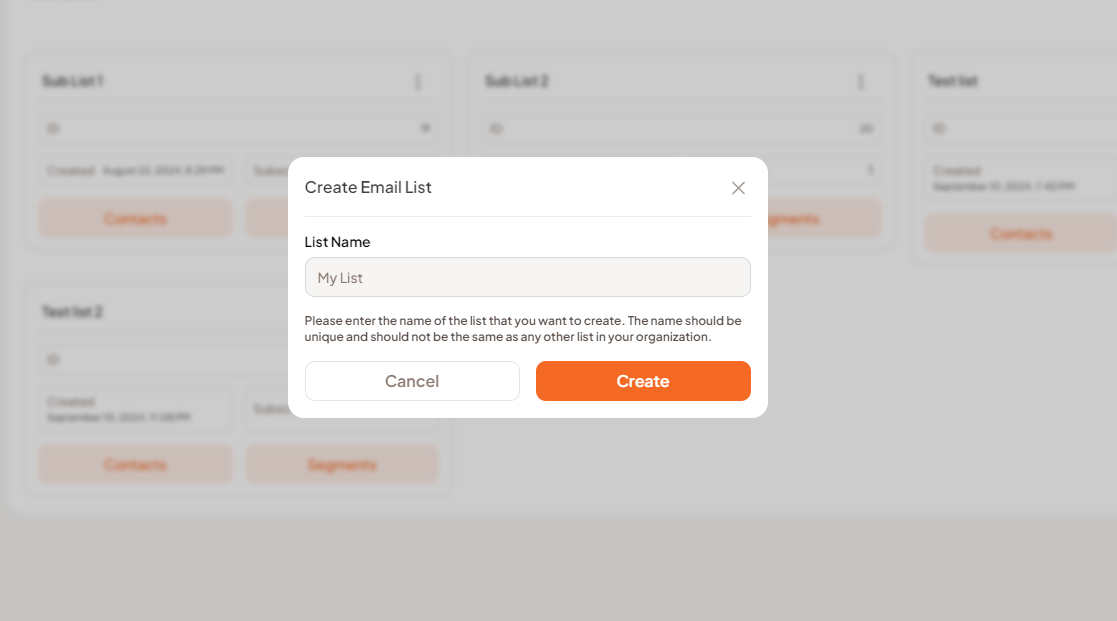
- Finalize List Creation: After entering the name, click 'Create' to finalize the creation of your new list. The modal will close, and your new list should appear on the overview page. If you don’t see it, refresh the page by clicking the refresh button in the top right corner.
Step 3: Adding Contacts to Your List
Adding Single Contacts
- Select Your List: Click on the 'Contacts' button within the list you just created.
- Add Contact: To add a new contact, click 'Add Contact' in the top right corner.
- Enter Contact Information: You will be prompted to enter the contact's details. The minimum required field is the email address, but you can also fill in other default fields such as:
- Name
- Timezone
- Tags
- Subscription Status
- Additional Fields: If you have collected any additional data for the contact, you can add these fields as well.
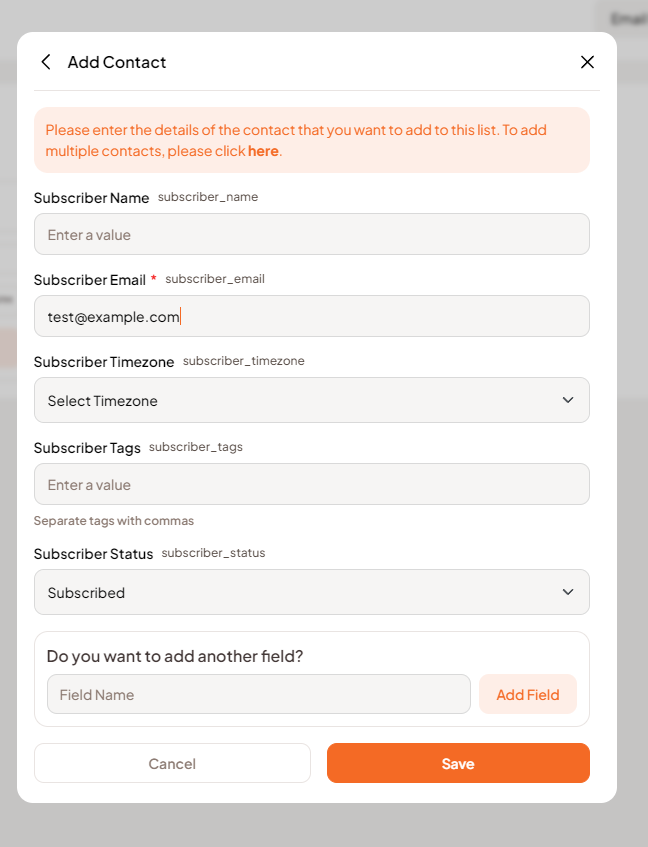
- Save Contact: Once you have entered all the relevant information, click 'Save' to successfully add the contact to your list.
Adding Multiple Contacts
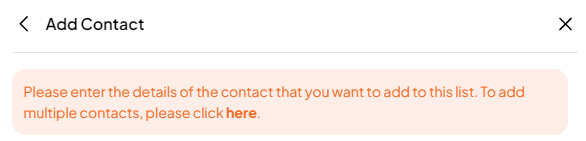
- Import Contacts: To add multiple contacts at once, navigate back to your contact list and click 'Contacts'.
- Import Prompt: At the top of the list, you will see a prompt that states: "Please enter the details of the contact that you want to add to this list. To add multiple contacts, please click here." Click the link to open the import modal.
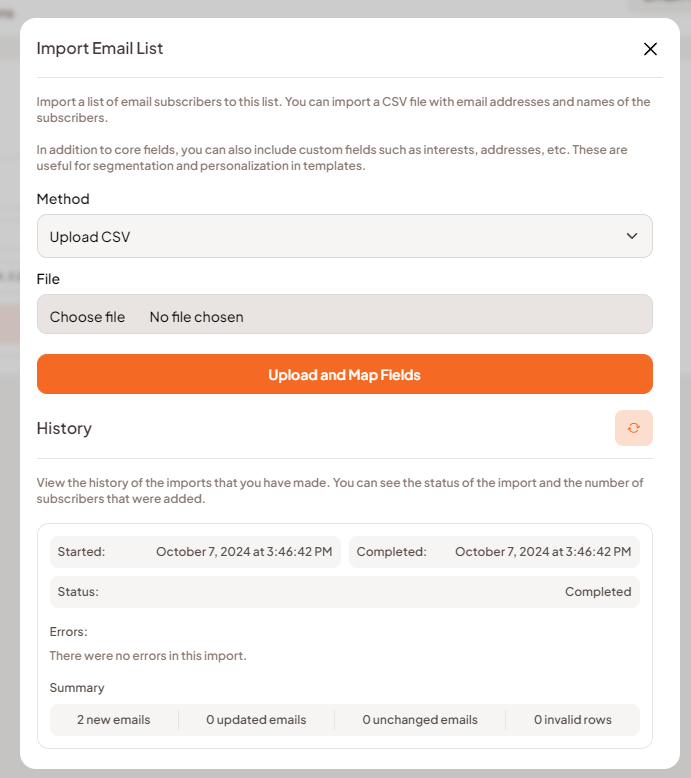
- Choose Import Method: You have two options for importing contacts:
- Upload a CSV file: Ensure that your CSV headers are clear and properly formatted. Maileroo will attempt to detect the necessary information.
- Copy and Paste: You can also paste contacts directly into the text box. Ensure each contact is on a separate line and separated by commas.
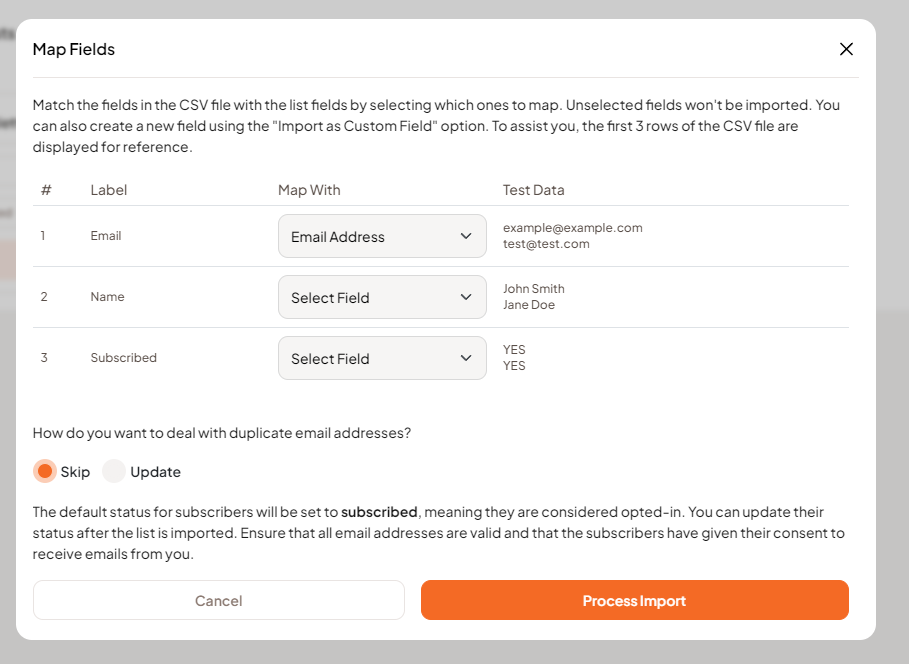
Mapping Fields (For CSV Uploads)
- Mapping Process: If you upload a CSV file, Maileroo will display a preview of detected fields from your file. You’ll need to map these fields to the relevant information in Maileroo (e.g., emails, names, timezones).
- Use Drop-Down Menus: Utilize the drop-down menu under 'Map with' to select the corresponding field. If a field doesn’t apply, select 'Import as a custom field'.
- Start Upload: Once you have mapped all fields, click 'Upload and Map fields'. The upload may take time for larger lists. You can monitor the progress by clicking the refresh button in the modal.
Information Panel
- An information panel will appear below the mapping section, showing details about the upload status, completion, errors (if any), and a summary of how many contacts have been added or updated.
Step 4: Verify Consent
Before you begin sending emails to your newly added contacts, ensure that all contacts have consented to receive emails from you. Failing to secure consent may result in account suspension due to violations of email regulations.
Conclusion
Congratulations! You have successfully created a contact list and added your first contacts. You can now use this list to send targeted campaigns and communicate with your audience effectively. If you have any further questions or need assistance, feel free to reach out to our support team!