How to setup Maileroo in Zapier
Connecting Maileroo with Zapier enables you to automate email delivery across your favourite tools, helping your systems communicate instantly and reliably. Whether you're sending notifications, transactional emails, or marketing updates, this integration makes it easy to trigger Maileroo emails from thousands of Zapier-powered apps.
Follow the steps below to get fully set up.
1. Set Up Your Maileroo Account and Connect a Domain
Before connecting with Zapier, ensure your Maileroo account is ready with at least one fully verified domain.
You can view or add your domains here:
https://app.maileroo.com/domains
Each domain you plan to send from must be verified. This is important because Zapier requires a valid sending domain connected to your Maileroo account.
2. Install the Maileroo App in Zapier
Next, log in to your Zapier account and install the Maileroo integration:
https://zapier.com/mcp/maileroo
Click “Try Code Free in Zapier Agents” to begin setting it up. This will add the Maileroo app to your Zapier environment so you can start creating Zaps.
3. Connect Your Maileroo Account to Zapier
When prompted, click “Connect new account.” A window will pop up asking for:
- Sender Key (required)
- Sender Address (required)
- Sender Name (optional)
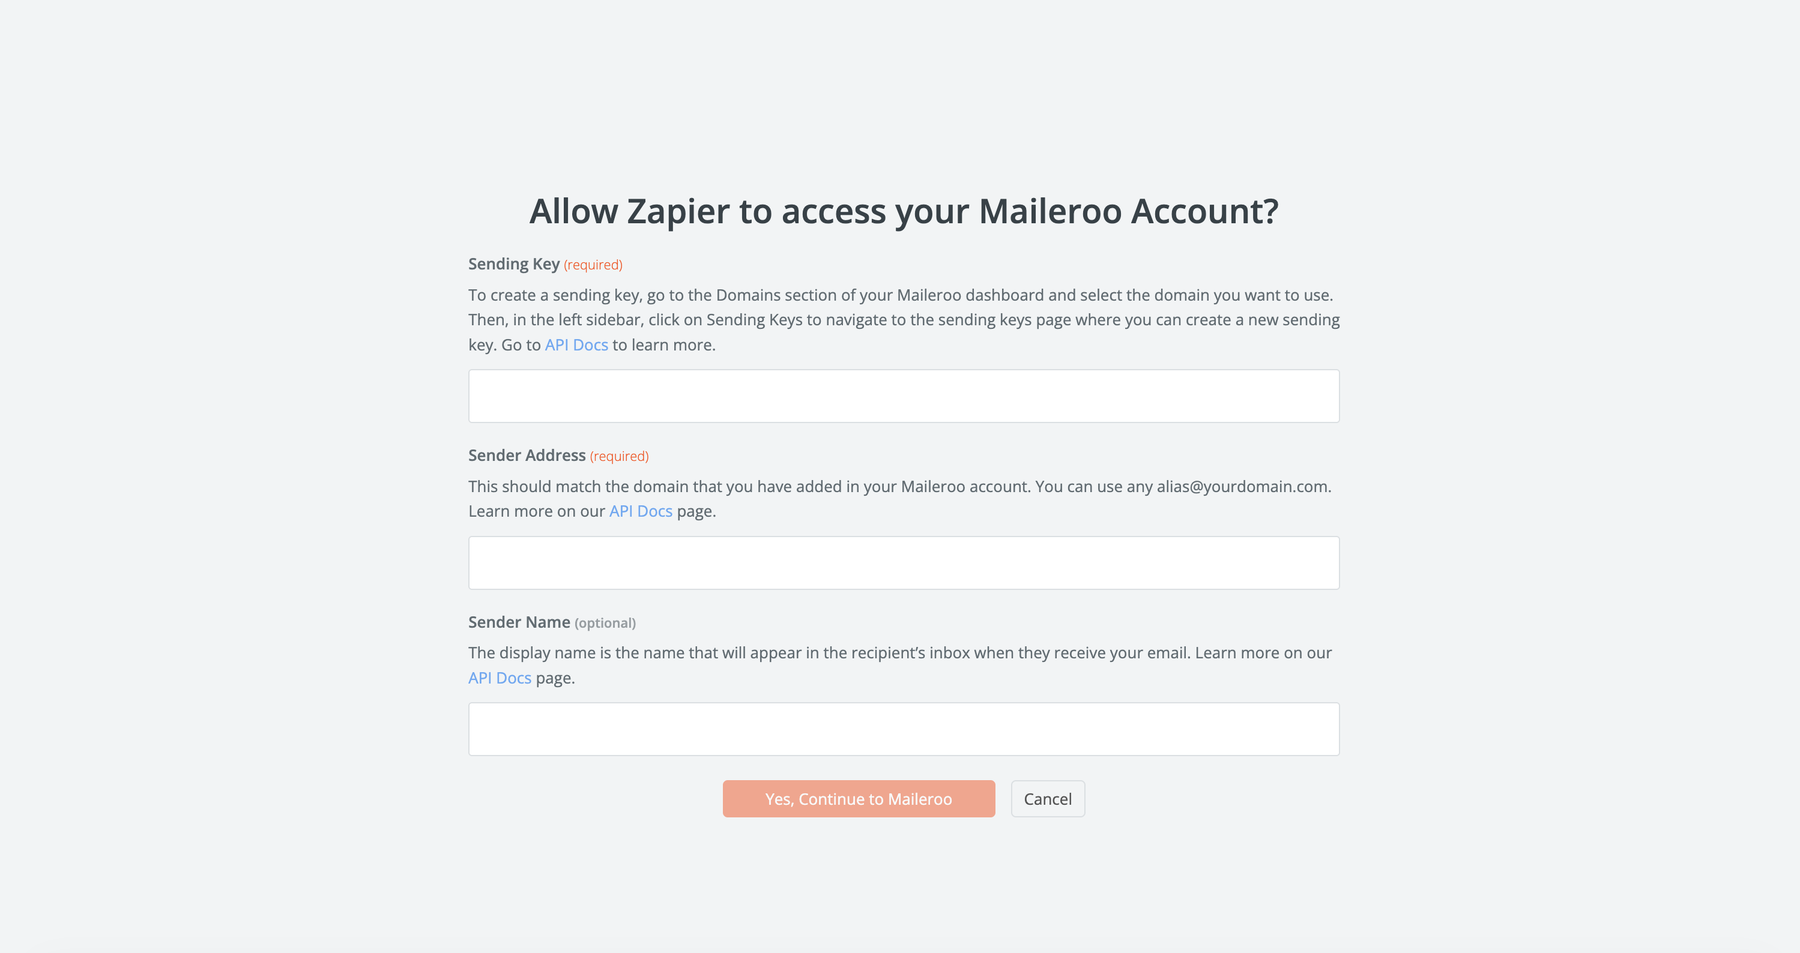
How to Get Your Sender Key
- Log in to Maileroo.
- Go to Domains.
- Select the domain you want to send emails from by clicking Overview.
- In the left sidebar, navigate to Sending Keys.
- Click New Sending Key.
- Give your key a unique name and click Generate Key.
Copy this key and paste it into the Sender Key field in Zapier.

Sender Address & Name
- Sender Address: any valid email under the connected domain, e.g.
[email protected] - Sender Name: your display name (e.g. John Smith, Support Team, Maileroo)
After filling out the fields, click Continue to Maileroo. Your account should authenticate successfully.
Important: If you enter a sending domain that does not match the Sending Key you generated, Zapier will return an error. Make sure both match the same verified domain.
4. Create Your Zap and Configure Maileroo
Once authenticated, click Create and you’ll be taken into Zapier Agents with Maileroo available as an action.
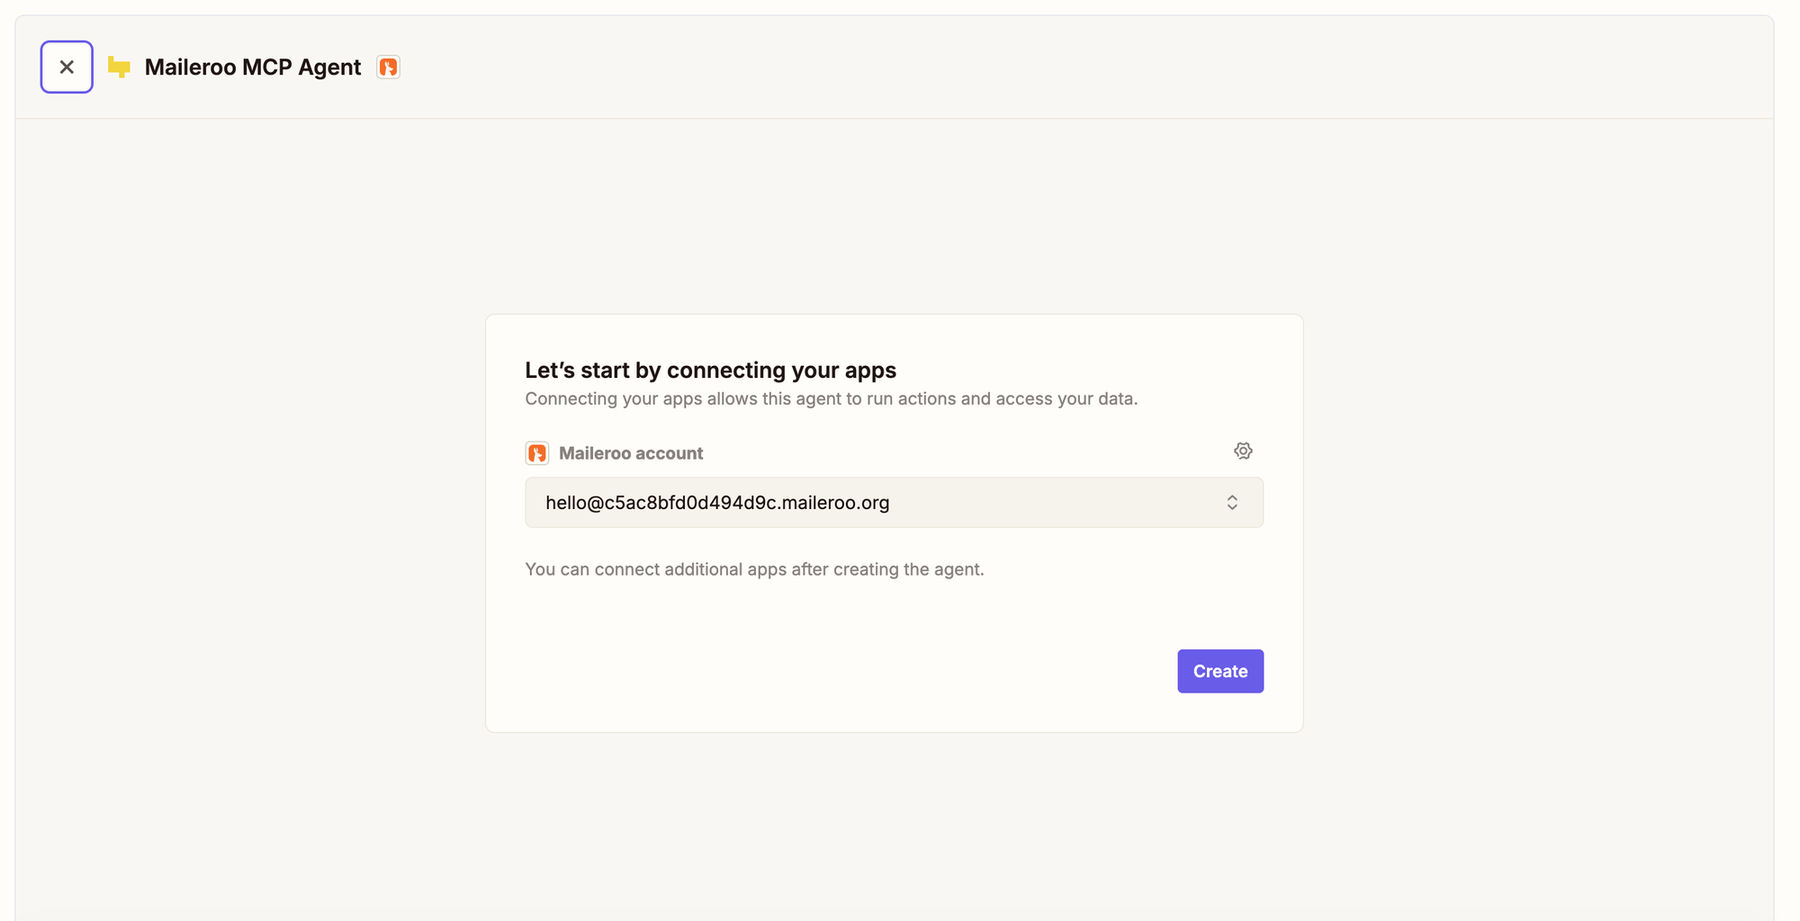
Select the Send Email action to begin configuring your email delivery.
Available Maileroo Fields in Zapier
Maileroo accepts the following parameters:
- Maileroo Address (Required)
- Recipient Address (Required)
- Recipient Display Name
- Subject Line (Required)
- HTML Content
- Plaintext Content
- Tracking: true/false
You can send emails using either HTML, Plaintext, or both. HTML templates can be generated externally and passed directly into Maileroo.
If you want email analytics—such as open and click tracking—enable the Tracking toggle. Otherwise, leave it set to false.

5. Start Automating Your Email Delivery
Your Maileroo integration is now ready to receive data from any Zapier-connected app and deliver emails directly to your recipients’ inboxes.
Set up triggers from CRMs, forms, e-commerce platforms, internal tools, or any workflow in Zapier to start sending automated messages with Maileroo.
Need Help?
If you have questions or want to request additional capabilities, our support team is always happy to assist.